Another trip down memory lane here…
Wanna see what our culvert looked like — right after they finished putting it in?
(I thought you would.)
First, To Set The Stage…
I was so nervous that we were going to be “taken advantage of” or something.
I mean, after we cleared the property, this was the first real construction-type thing we did out there. And I was clueless about what to ask for, and what to expect.
At the time, I knew nothing about culverts, including the sizes, shapes, and types of material that can be used to build ’em. To top it all off, Jim was out of town during this time, so I had to “sign off” on the project once it was done!
I’ve since learned a few things about the exciting outdoor accessory called a culvert. But let me tell you… it’s NOT an exciting topic to research! At the time, I pretty much just had to wing it.
My First Impression
The first questions I had when I saw the freshly installed culvert at the foot of our driveway…
1) Did we pay for truck loads of rock? Because this doesn’t appear to be rock. I thought the guy said they were going to top it off with a layer of rock. Instead, it’s more like white dirt. Not even pebbles… just white crushed rock.
2) Ours is a plastic culvert. Will that hold up? It also appears to be very shallowly buried with that crushed rock stuff… Won’t that wear away in no time?
3) I’m not sure that we should drive over it or park on it… Can you actually drive on a shallowly buried plastic culvert? Won’t the weight of a vehicle crush it? (…or at least weaken it?)
Overall though, I thought it looked pretty good. And it was exciting that we would now have a way to access our property by driving right up to the homesite… IF we wanted to get completely dusty, that is. (Remember, the bushhogging left a thick white ashy dust all over the property.)
Photos The Day After The Culvert Went In
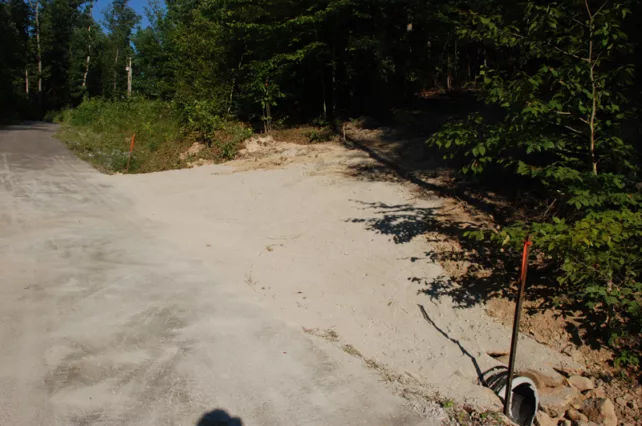
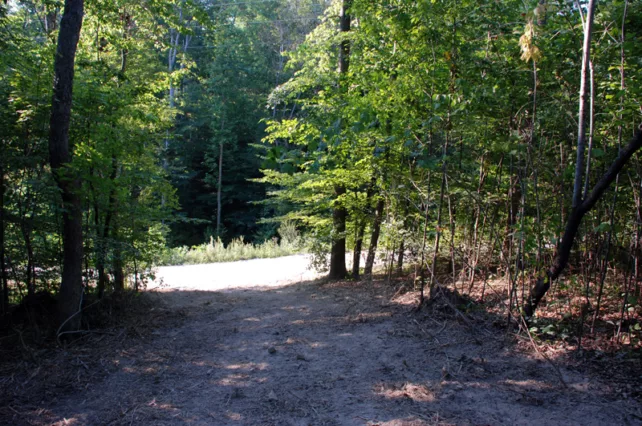
Approaching the property (on right), looking from the top of the hill on the private road in…
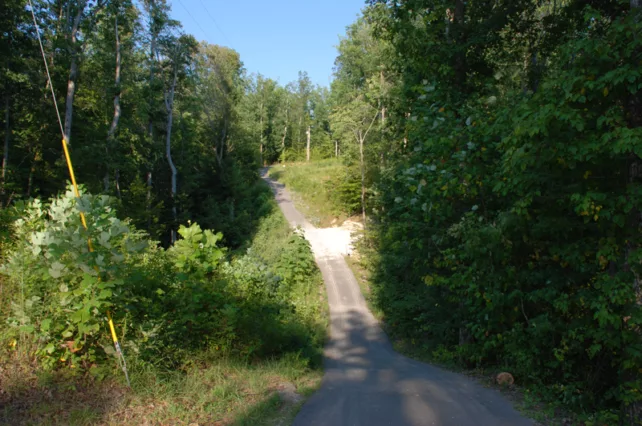
Closer view than the photo above…
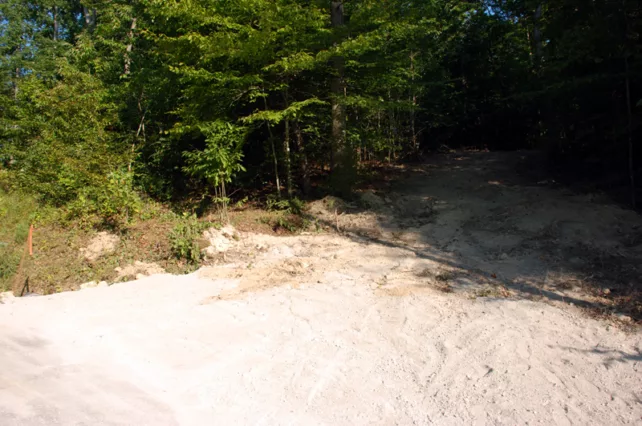
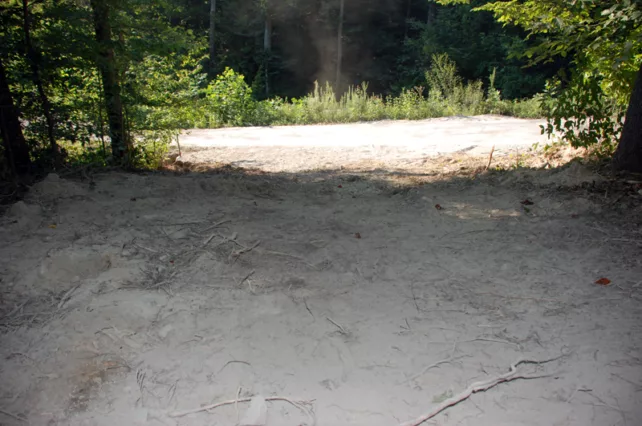
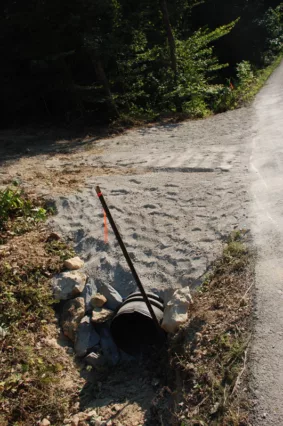
Here, I’m standing in front of the new culvert and driveway…
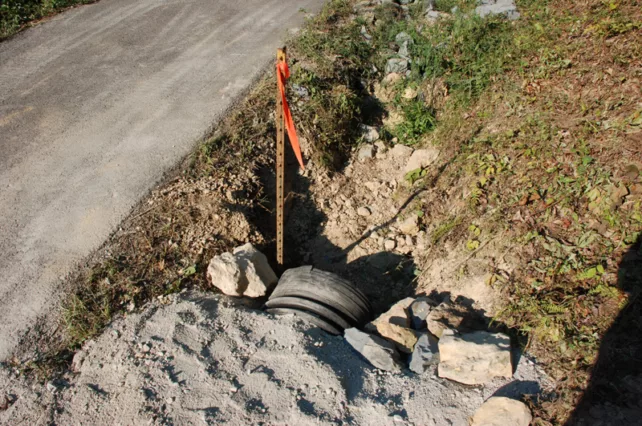
A look at the culvert and driveway up close…
Looking up the steep driveway while standing at the culvert…
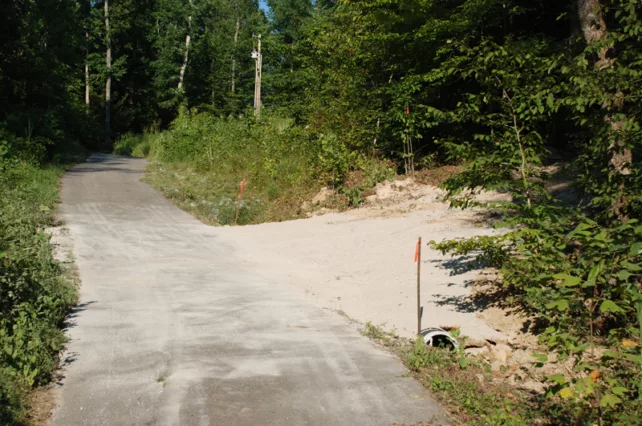
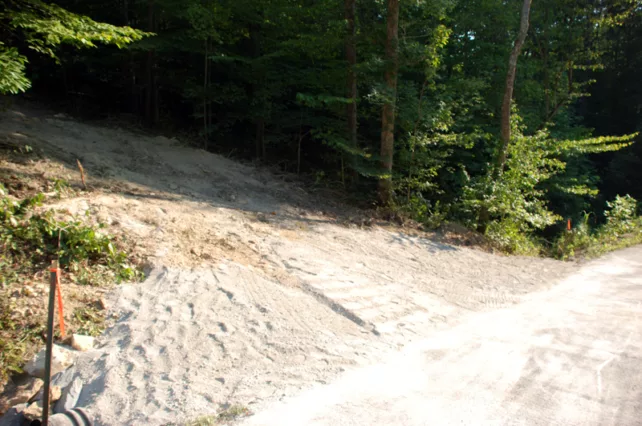
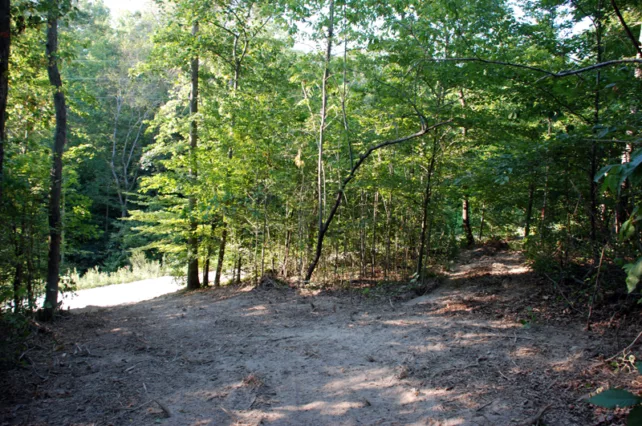
A view of the culvert and driveway from the opposite direction — from the other of the private road. Here, the property is on the left…
This is an extra cut-out area they had to create to be able to get their equipment off the main road and to be able to have more than one piece of equipment on site. It’s located about 100 feet up our driveway & on the left. I made a nice little turn-around area for them…
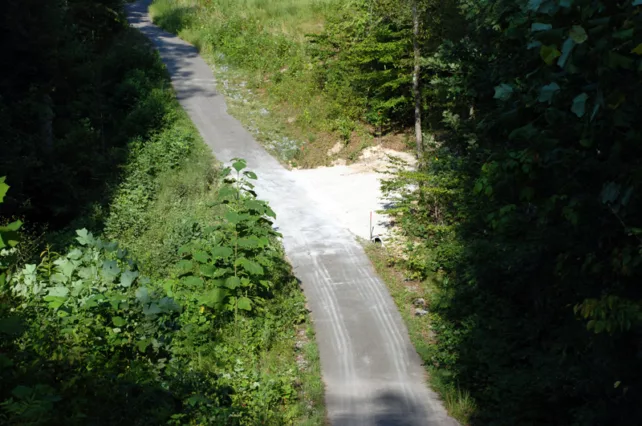
Looking back down our driveway at the culvert. I’m standing at the cut-out area mentioned above (it’s on the right, you can’t see it)…
Here, you can see the driveway/culvert main exit (on the left) and the cut-out area on the right…
A look down the driveway, about to exit onto the private paved road. The driveway is much steeper than it looks. You can also see how thick the white ashy stuff is…
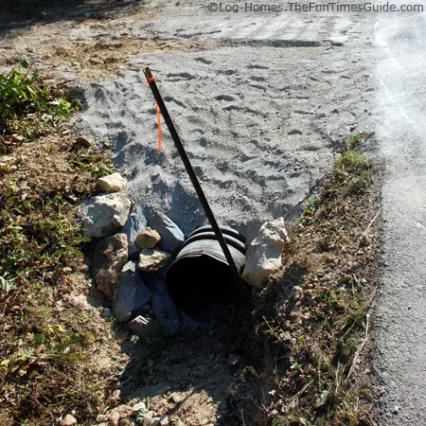
A closeup view of the culvert. This is the topside of the culvert…
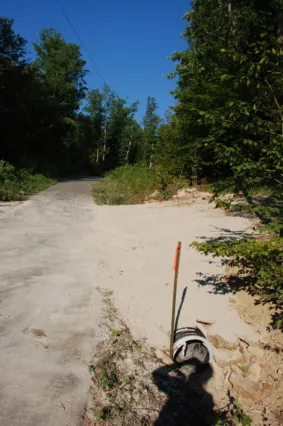
Still standing past our property, looking back down the hill — toward the exit back onto the main road…
A close-up of the same view above…
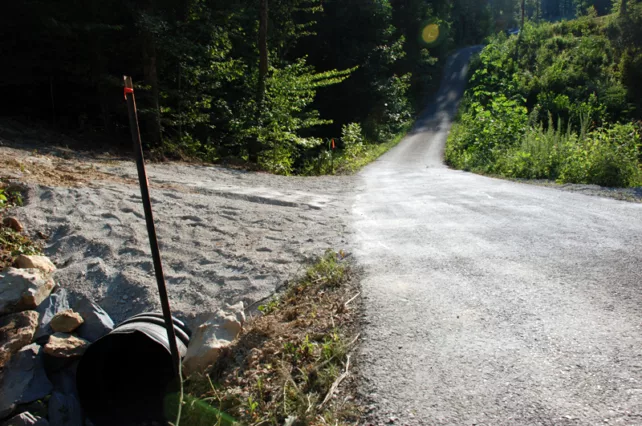
Walking back to my car, back up the paved road — looking at the bottom end of the culvert…
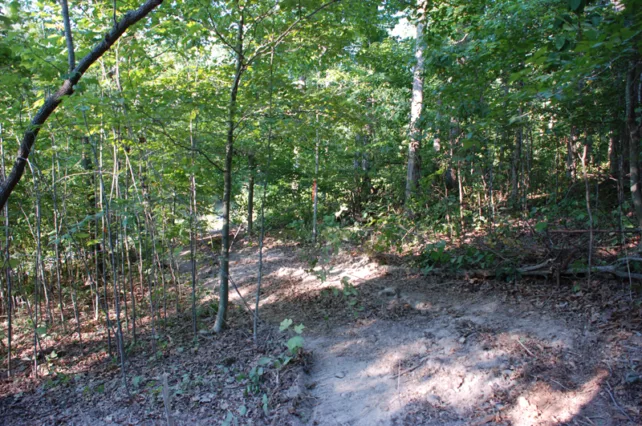
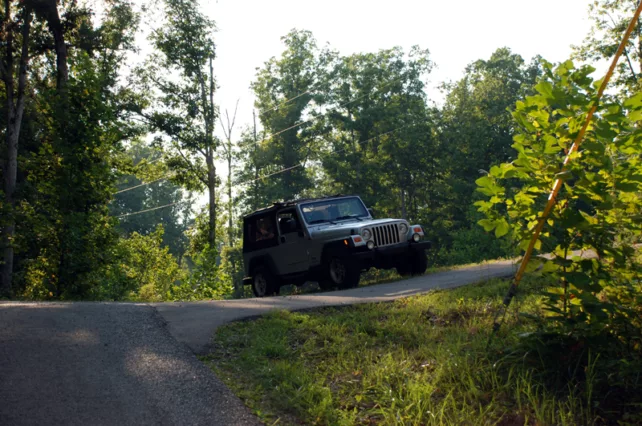
This is where we used to park our Jeep — at the top of the hill on the private road in — several feet shy of our property. Then we’d walk down to property on the right. Now, we’ll be able to drive right onto our homesite!…
My Notes After Talking With The Crew That Put In The Culvert
Yes, everything is a white sandy color & very dusty on your property now (from the bushhogging), but that’s typical for the area. Rain won’t really turn it brown like dirt… it’ll stay white & ashy until the top layer (10-12 inches) is doziered out or enough rain falls to pack it down a bit.
They had to hammer out a good bit of rock to put the culvert in. They dug about 1-1/2 feet until they hit solid rock & had to start the hammering. (Luckily, the crew had the right equipment on hand.)
The rock on top of the culvert is called “crush & run”. It compacts better than actual rock does. Real rocks would just get kicked out by car tires, whereas this will compact down — especially after a rain. If there had been water nearby, they would have watered it down for us.
They thought we’d probably need to add “rip rap” like you see at the neighbor’s ditch line further up the road. That larger rock in the ditch (6″ rock) traps debris inside of it, and slows the flow of running water.
They chose plastic for our culvert because metal tends to clog all along the tiny ridges inside and you need to manually unclog it frequently. Debris won’t stick inside the plastic.
I asked if we should put a screen on the top (hillside) of the culvert to keep debris out. They said no way. That would just trap stuff on the screen itself and reroute the water over your driveway… then your driveway would wash out in no time.
Most culverts for new homes are typically around 30 feet long. Ours is 50 feet to give us — and work trucks — a greater turning radius from that long narrow road leading up to the property. (Vehicles need more space to be able to swing out and then turn into our driveway, whereas most other homesites have wider roads approaching the property.)
When I asked if there were any areas they got close to the property line, they said Yes — at the first curve in the driveway, they got within about 15 feet of the property line. In all other areas, they kept 20-25 feet from the property line. It just wasn’t easy to do at that particular curve.
There, now wasn’t that exciting?…

We’ve gone through the entire process of designing and planning every single detail of our dream log home! We have the blueprints… and the land… and the contractor… and the goal for our log cabin home to be our retirement home. Before you build (or buy) a log home, I have a slew of helpful tips for you — to plan, design, build, decorate, and maintain your very own rustic modern log home. When I’m not fine-tuning the log home of my dreams, you’ll find me at the corner of Good News & Fun Times as publisher of The Fun Times Guide (32 fun & helpful websites). To date, I’ve written nearly 300 articles for current and future log home owners on this site! Many of them have over 50K shares.