Who knew something so simple as the placement of the toilet in your bathroom could be so difficult? (Not me!)
We’ve gone through the motions of designing our ‘ideal’ master bathroom, and one of the first things the interior designers told us was this:
You don’t want the toilet to be the first thing you see when you’re outside the bathroom looking in.
(They were referring to ‘when the bathroom door is open’.)
And I have to say, it makes a lot of sense!
There’s just something tacky about seeing the toilet when you pass by the bathroom.
The 3 main options for toilet placement in the bathroom are:

#1 – Put the toilet in a “water closet” — behind its own closed door. I’m okay with this, but it’s never been my preference. I guess I’ve been in too many model homes where the water closet was just too small. I mean, half the times, you can barely sit down without bumping your knees on the wall in front of you!
That said, the blueprints for our log home currently shows the toilet in the master bathroom behind its own door, in the form of a water closet.
 #2 – Put up a small half-wall or partition — this creates a visual barrier between the toilet and the door or entrance to the bathroom.
I really like half walls because you can use the top as a bonus shelf ledge!
I also like for things to be of varying heights (in any room), and that includes things like walls and shelves.
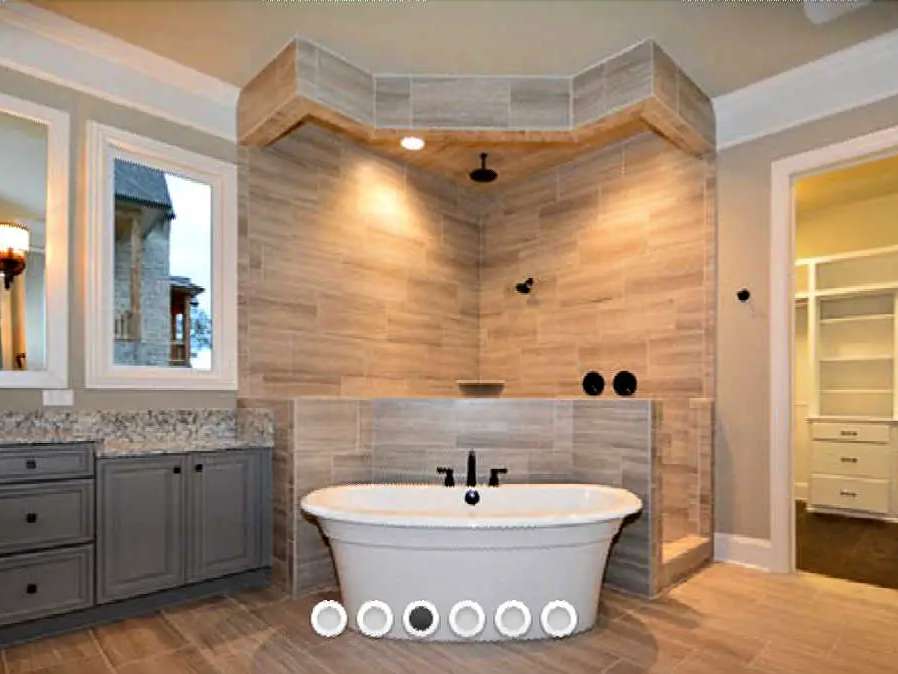
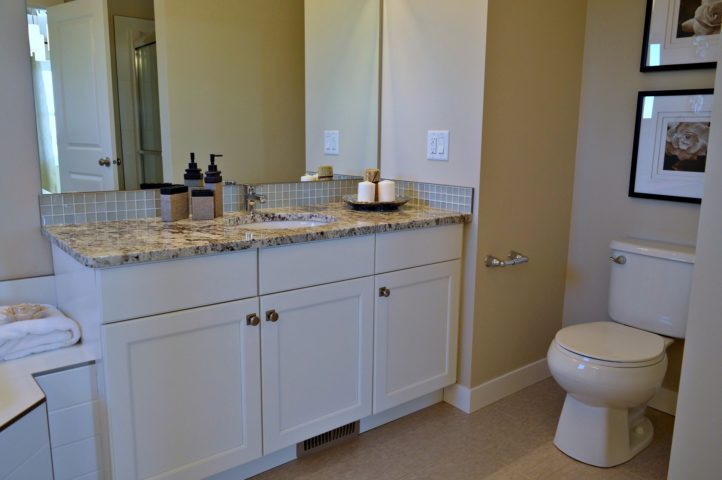
 #3 – Make the shower/tub wall serve as the barrier — this is how the toilet is “hidden” in our current home. It works well, and sort of gives you a two-for-one (shower wall serves as a half-wall… that’s actually a full-wall).
Forgive the fuzzy toilet seat cover… that’s just one of the downsides of having dogs in our house. Because they’ll drink out of the toilet if the lid is up. Having the fuzzy seat cover just makes it a quieter “slam” when we drop the lid down in a hurry.