The most important factors when you go to stain your log home are:
Whether you do it yourself or hire a skilled professional, log home staining is a process that needs to be followed meticulously to ensure the protection of your log home.
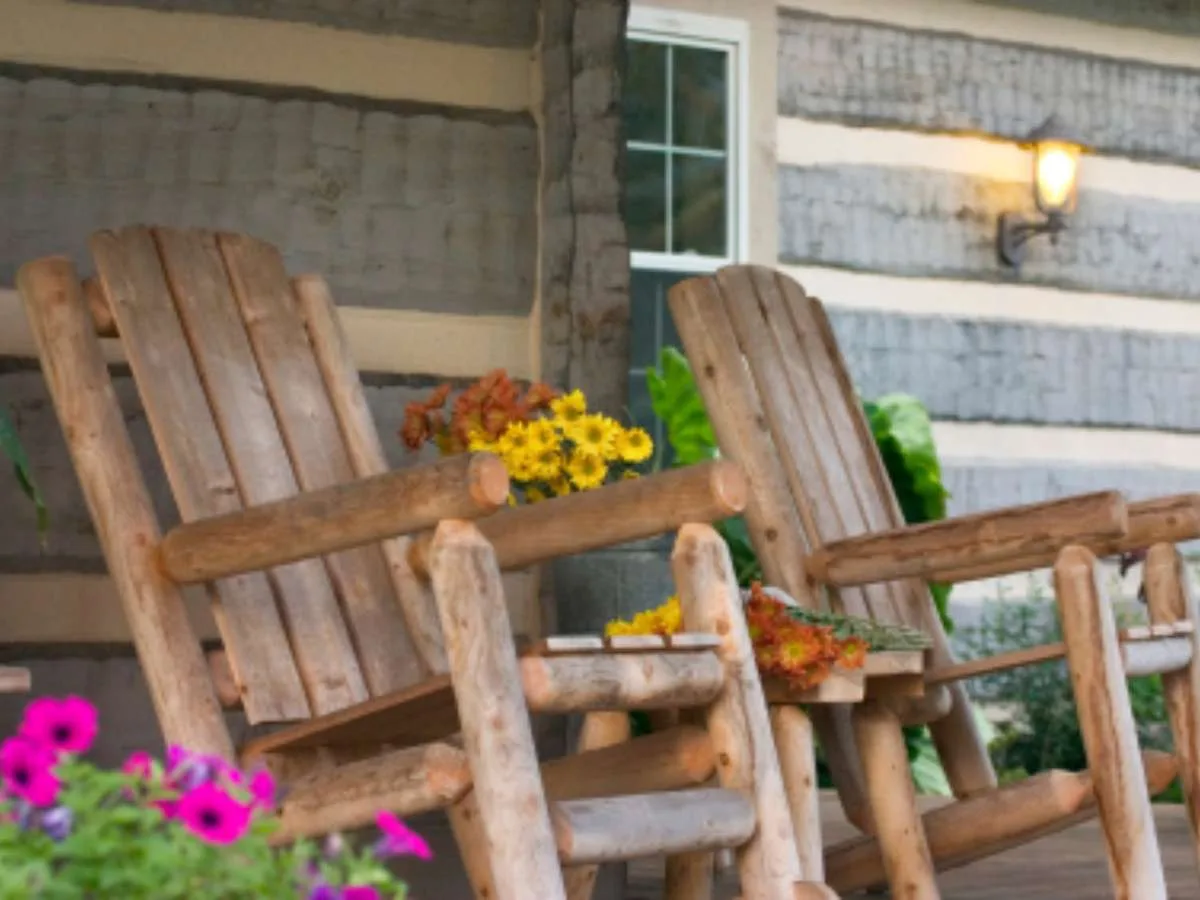
Having recently finished staining our log home in northern Michigan, let me share with you what to expect when you apply log home stain to your log cabin.
Weather: Pick The Best Days
Once you have selected your stain and determined who will apply it, you need the weather on your side.
The logs need to be at a moisture content below 19%. Therefore, you would not be staining in the winter or early spring months.
Additionally you need to check the weather report and make sure you have at least 5 days of sunshine coming up. We personally had to wait an additional 30 days for the weather to cooperate. We had our builder on standby until finally, the sun broke through the clouds and there was a sunny week in the forecast.
Timing: The Steps Involved In Log Home Staining
We chose Sashco to obtain our staining and borate based product.
They have a “Start Right” program whereby they provide a step-by-step book of instructions, the stain, and the Penetreat (the borate solution). Together, these products will help to ensure that your new log home gets off to a good start — fully protected from things like sun, water, and insects.
Sascho emphasized that the timing of the following steps was very important.
Day 1 – First, power wash the log cabin. (You want to make sure any dirt, bugs, log dust, etc. are removed from the logs so you have a smooth surface in order for the borate treatment and staining to adhere.)
TIP: After the powerwashing, the log surfaces were hand-finished to remove “felting” from power washing. (They recommend an Osborn brush.) Then the sawdust was removed with a brush and/or shop vac.
Day 2 – Apply log cabin caulk to any large checks in the logs.
Day 3 – Tarp the windows, doors, decking, etc. to protect them from the treatment and log stain. Apply the borate treatment. This prevents decay and insect infestation to the logs. This must dry 48 hours. (Double check with your provider on the timing. Depending on the stain and borate treatment used, it may differ with other products.)
Day 4 – Apply the first layer of log stain, preferably with a sprayer. Brush out any drips. Our stain dried in 12 hours. (Check with your log stain provider regarding its specific drying time.)
Day 5 – Apply second layer of log stain.
Day 6 – The choice is yours… the log home will need a 3rd layer of stain and you may want a polyurethane coat on top of it. Our stain company advised us we could wait till the next year to apply the 3rd layer and the polyurethane coat. This saved us some capital expense as we just recently finished our log home.
Diligence: Ongoing Log Home Maintenance
Now that your log stain has been applied, you have to diligently maintain and keep an eye on it.
How often you need to stain your log home will depend on the color of stain you choose and how well you did the log staining prep work mentioned above. If you choose a light golden color stain, then you may be looking at log home staining every couple years, as part of your ongoing routine of log home maintenance. The darker colors can last 4-5 years. We chose Sashco’s red-tone medium as we didn’t want to have to stain our log cabin every 2 years.
Additionally, you need to keep an eye on your logs. If you start seeing some graying or bigger checks starting to appear in the logs, then you may have to apply a treatment and contact your log and stain provider for advice.
Some people report a problem with carpenter bees being attracted to their log homes. There are products called Bee Gone and Carpenter Bee Chamber available. Also, make sure when you are landscaping, keep shrubs and trees away from your logs. You don’t want something like tree sap damaging your home.
To recap, make sure the weather is on your side, follow the staining schedule as recommended by your provider, and then keep up the diligence on maintaining your log home so it will last for many generations to come.
Good luck!
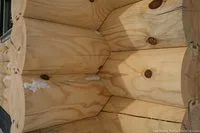
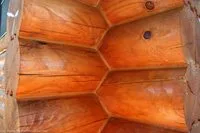
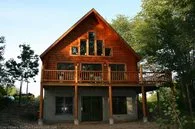
Before & After Photos

Log Home Staining Videos
Here are 2 videos that show how to apply log home stain as part of your log home’s maintenance.
#1 Staining Logs and Log Siding:
#2 Applying The Log Stain: