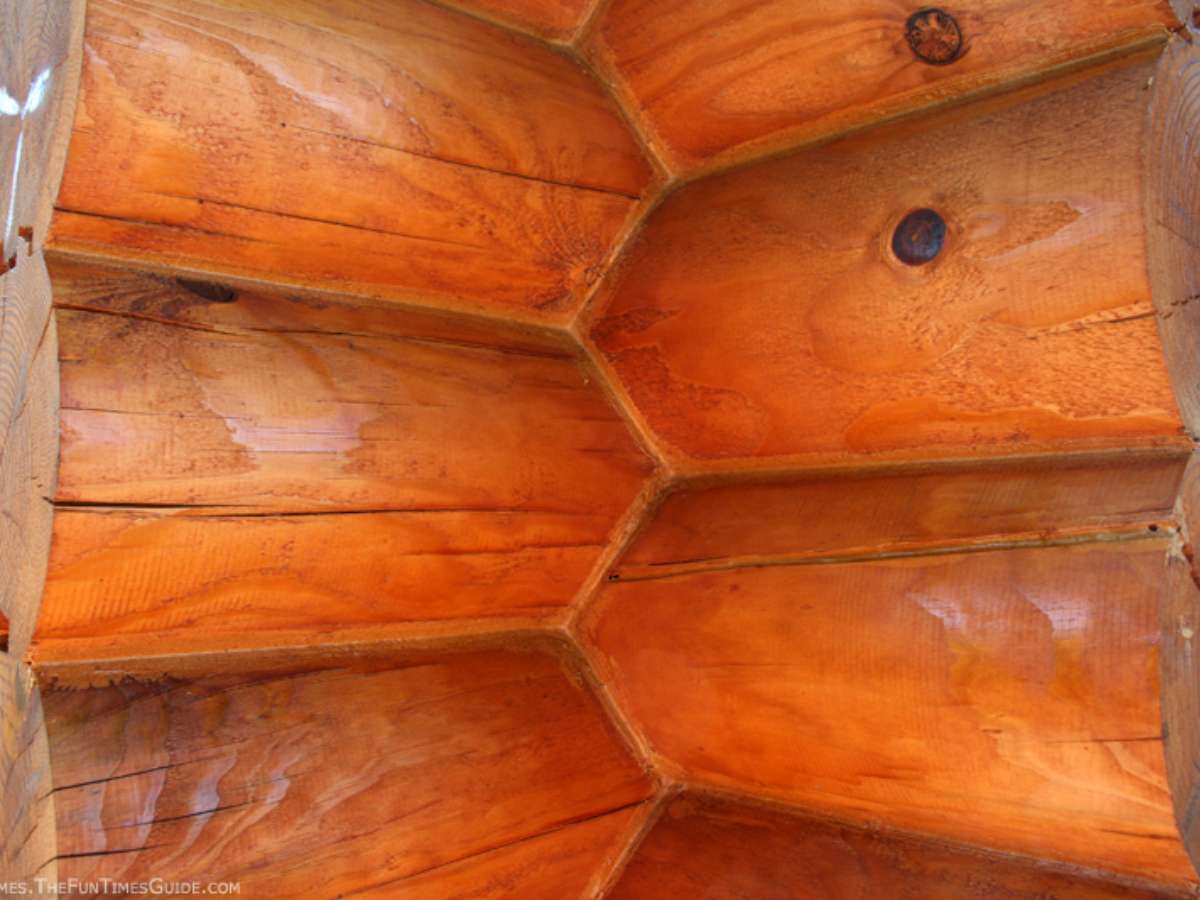
 Blemishes and nail holes in wood trim and log walls are 2 things that most log home owners are going to want to “hide” at some point — especially if you’re trying to sell your log cabin.
This question actually came to me via e-mail today. Melissa wrote:
I am going to be selling my log home soon and of course I want it to look nice, however I have holes in the walls from moving towel racks etc and I am wondering what is the best way to fill these in so it blends best with the wall?”
The first thing that came to my mind was wood putty, but I have to admit… I wasn’t sure if there was something “better” that log home owners (or builders) themselves might recommend.
So I did some research, and here’s what I found…
From the Sikkens (wood finishes) website…
Q: I want to fill the nail holes on the outside of my house. I bought a filler and would like to know if I can fill the holes with a mix of Sikkens and wood filler.
A: Without extensive testing we cannot tell whether the filler powder and Sikkens are compatible with each other. For this reason, we do not recommend the use of these products.
Additionally, according to Sikkens, you should “fill all joints, cracks, and nail holes with a good quality polyurethane or acrylic caulk/filler prior to applying the coating.”
TIP: Check out these great tips regarding wood patches, putty sticks, waxes, and wood floor restoration systems from Menco Log Home Supply.
The log home experts at the Log Home Store recommend this:
“To rebuild missing pieces of wood and fill cracks and holes, apply WoodEpox. When hard, sand, paint, stain and nail.”
From the DIY Network (in reference to log cabin window trim):
“Nail holes are disguised with tinted wood putty that matches the color of the wood.”
See also: Ask the Log Doctor!
According to “foxcroft” on the houseblogs.net forum:
“Minwax has a line of putty that you put on AFTER you have stained and varnished. It never gets completely hard like traditional putty, but they have a large number of colors so you can match it. I used this on my second floor work, since I stained and varnished all the trim before I installed it. My suggestion is to go a shade darker than your wood stain, it seems to be less noticeable than using a lighter one. IF you’re filling in finishing nail holes, this is a good product.”
According to “brooklyn row house” at the houseblogs forum:
“wood putty, wood filler or wood patch? Manufacturers intermix these names but they’re actually three different products. Wood putty is typically applied in small areas, such as nail holes and tiny gaps, after the stain and seal so you can match it to the finish color. Wood filler is thinner in consistency and is typically used over larger areas, such as to seal open grained woods prior to staining. Wood patch is used to repair damaged wood, like rotted sills, but is typically not stainable.”
TIP: See the differences (including pictures) between sandable wood putty and soft, oil-based putty.
Here are some tricks for filling nail holes from wood finishers:
“Color putty is good for small nail holes after the wood has been stained and sealed and is compatible with topcoats, they offer water based and oil based putty that can be blended to get the color you need. It doesn’t dry to a sandable finish, it stays somewhat soft so it shouldn’t be used on outside corners or big holes where it might get knocked out.”
“A trick I was once taught is to use sawdust from the same wood mixed in with a bit of wood glue to bind it together. It will take the stain better but because of the glue, it will still be a bit lighter.”
“If its just nail holes, I use Old Masters painters putty. It is excellent stuff and you can spray lacquer right over it. You can get it in over 20 different colors and you can mix it with other colors. It’s designed to use only over a finished product. Check it out. You will wonder how you ever got by without it.”
I use round toothpicks (ones without color). I stick them in the hole, and break them off so that about 1/16″ is above the surface. I then hold a piece of 1/4″ dowel over the top of the broken toothpick and strike the end of the dowel a couple times with a hammer. This forces the toothpick further into the hole, and mashes the wood fibers so that they don’t absorb color like end grain. Then I level, sand, and apply filler, and when it’s dry I level sand again. This really doesn’t take any longer than just filler, uses less filler, and I never have to worry about dimples or filler falling out, since the toothpick fibers give the filler something to grab onto and expand/contract just as wood does. Any exposed wood fibers will take color differently than just the filler, making the hole far less obvious.”
TIP: From Reader’s Digest: “Most people are surprised to learn that professional painters use soft colored putty to fill nail holes in stained woodwork. This eliminates the nearly impossible job of staining wood filler to match the surrounding wood.” (see picture)
This video shows how to fill nail holes in “regular” walls using putty:


