to a doorless shower design!")
As a comment to my article about choosing a tub & shower set-up for your master bathroom, a reader named Marci wrote:
“My gosh!… You have described the VERY bathroom I’ve been looking for as we prepare to build in the spring. Do you have a photo yet? Would love a space just as you described. Sounds lovely!”
So, as an update, I’m going to show you what we have designed for our master bathroom shower area.
Most notable is the fact that we’ve decided to go with a doorless walk-in shower. (I am SO tired of cleaning the glass doors in our current shower!)
See how we designed our doorless shower (and the photos that inspired us to go this route)…
Our Uniquely Designed Bathroom & Shower
The closest I have to a picture at this point is this diagram:

This next image is from our actual house plans — showing just the master bathroom and shower area:

You will notice that there is a floating wall in the center, which serves as the base for a sink on either side:
- One is a “shaving sink” to accommodate Jim’s daily ritual in the shower.
- The other is a wide-top furniture looking sink with some counter space.
With regard to the shower area, there is also:
- 1 corner bench — for seating inside the shower
- 1 window inside the shower area — for air and natural light (it’s wide & narrow, rather than tall and skinny as it appears in the image from our houseplans)
- 2 built-in shelves — to hold all of our shower supplies
- 2 ceramic towel hooks at the entrance to the shower (in the dry area) to hang towels on.
In this plan, the showerhead is placed on the shortest part of that floating wall — in the very back.
It’s similar to the walk-in shower in this next photo — where the floating wall has the bathtub on one side and the walk-in doorless shower on the other side:

Actual Bathrooms With Doorless Showers That Inspired Our Design
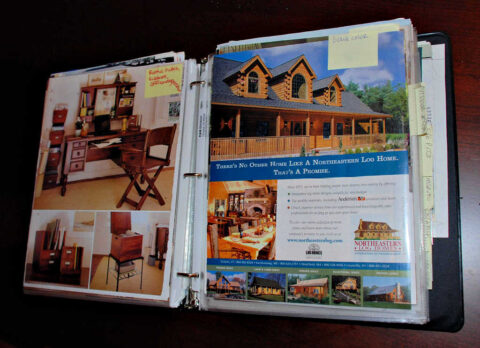
Our master bathroom was designed after looking through far too many home magazines and watching way too many DIY tv shows on the HGTV network).
Here are some of the photos which inspired our “dream bathroom”…
#1 – Shower seat, built-in shelf, and tile:

#2 – Nice tile, antique bronze fixtures, and doorless shower:

#3 – Sink on one side, walk-in shower on the other side of a thin, narrow wall:

#4 – Brick looking tile, built-in shelf and shower seat:

#5 – A doorless walk-in shower hides behind the wall in this master bathroom:

#6 – Fog-free mirror and small sink inside the master shower:

#7 – Walk-thru master shower with floating wall that is half glass:

#8 – Doorless master shower with controls on the half wall instead of near the showerhead:
 - as seen at a tour of homes in Nashville, TN.")
#9 – Walk-in master shower hidden behind a tall tiled wall:

#10 – Three-quarters of a glass wall separates the walk-in shower from the rest of the room:

#11 – Two pieces of clear glass (one on either side), with a pass-thru area that has no door:

#12 – A single piece of window-paned glass separates the walk-in shower from the other items in the master bathroom:

#13 – A curved half-wall accented with tile/stone separates the walk-thru shower from the rest of the master bathroom:

And now, for something that’s WAY out of the ordinary… here’s a “wet area” in the master bathroom — for both the bathtub and the walk-in shower:

Like this post? Save it to read again later… or share with others on Pinterest!


We’ve gone through the entire process of designing and planning every single detail of our dream log home! We have the blueprints… and the land… and the contractor… and the goal for our log cabin home to be our retirement home. Before you build (or buy) a log home, I have a slew of helpful tips for you — to plan, design, build, decorate, and maintain your very own rustic modern log home. When I’m not fine-tuning the log home of my dreams, you’ll find me at the corner of Good News & Fun Times as publisher of The Fun Times Guide (32 fun & helpful websites). To date, I’ve written nearly 300 articles for current and future log home owners on this site! Many of them have over 50K shares.