Can you see it now???

What a difference a couple of days makes!
(…and a bush hogging machine or two)
Seeing The Forest For All The Trees
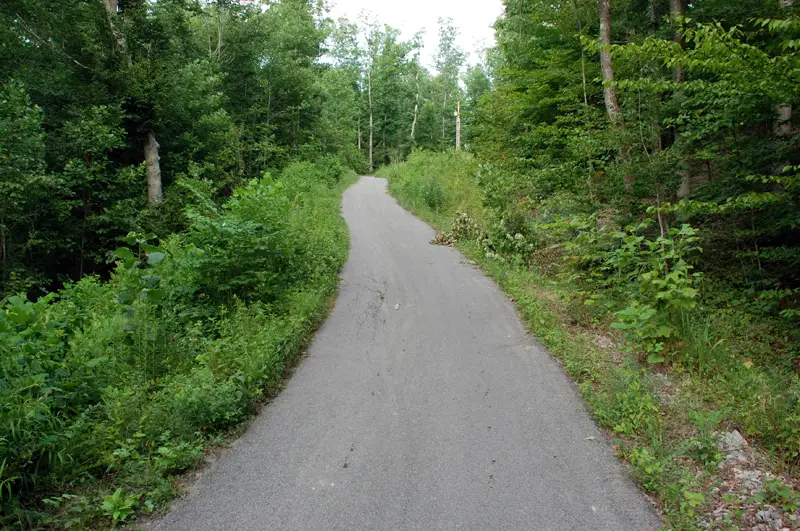
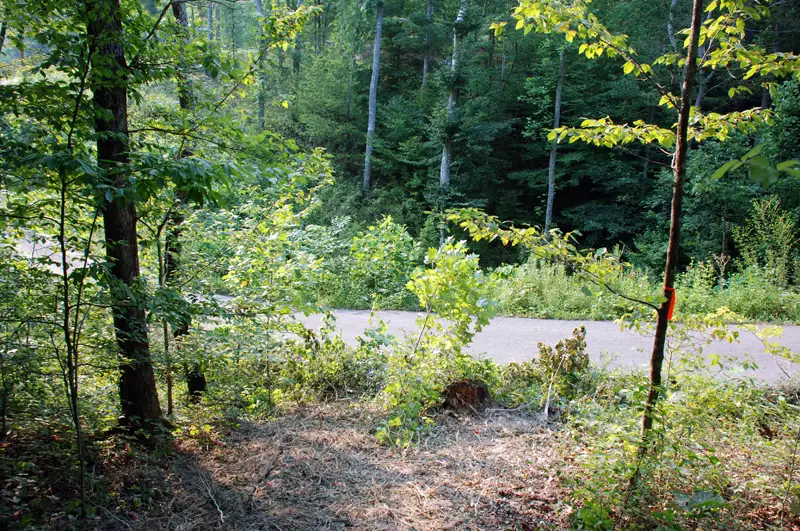
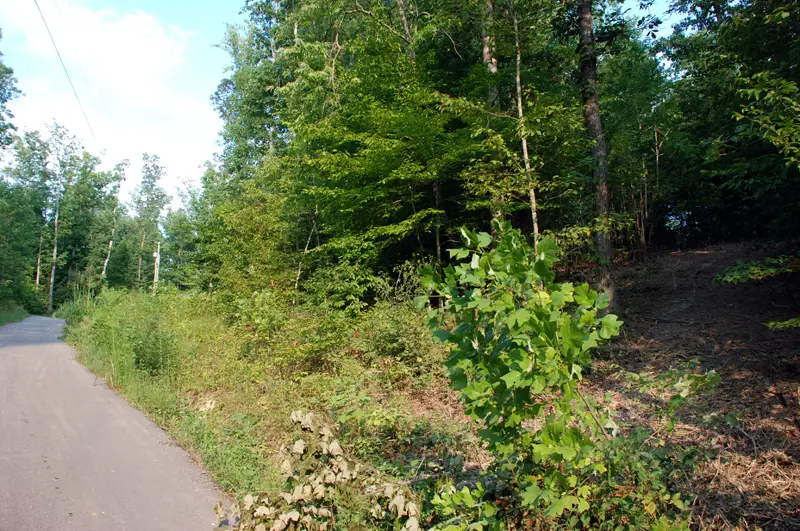
Last week, we hired a local landscaping company to clear out the homesite area and make a rough, temporary driveway.
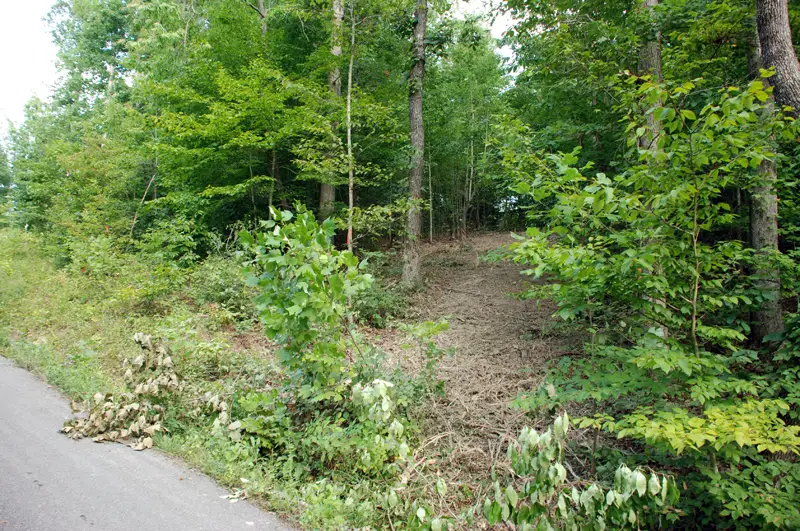
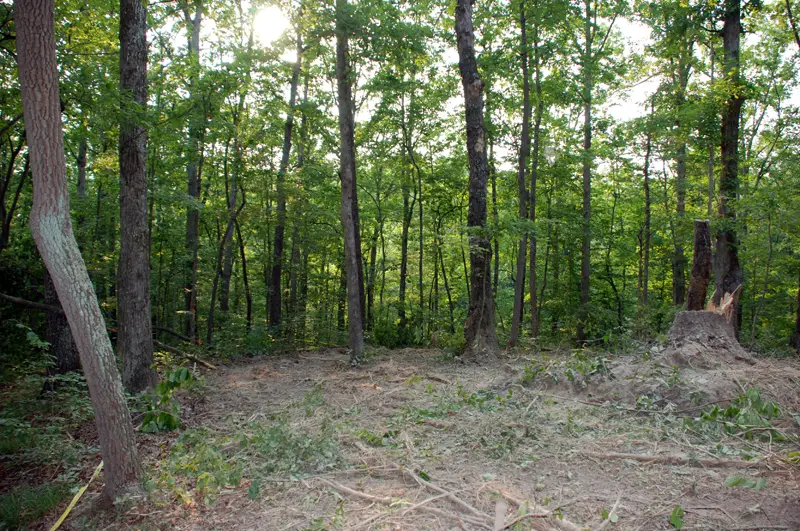
They took down most of the trees that were 8-inches and smaller. However, they left any that might be good “accent trees” — just in case we changed our mind on the exact placement of the house.
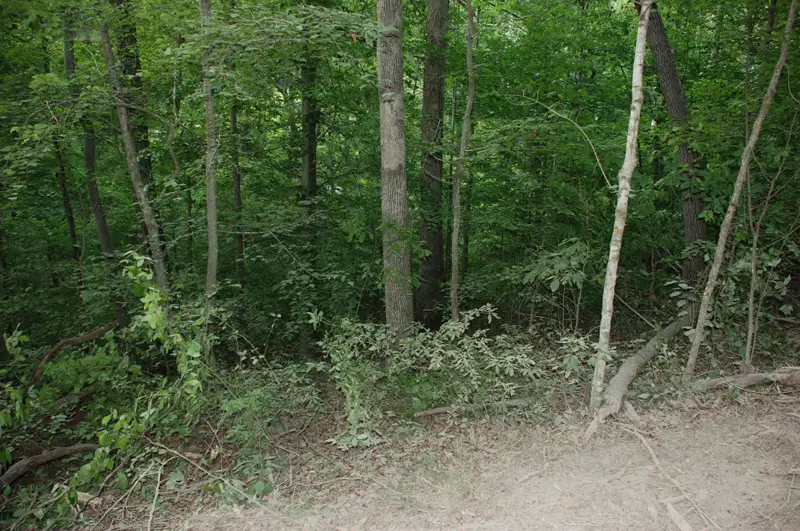
They also completely removed all of the small brush and prickly things that were underfoot. (Much of it was very thick and had grown quite high on this forested piece of property.)
What To Expect After Your Land Is Cleared
My first visit after Day One of bush hogging caught me completely off guard. (Jim was out of town, so I drove out to see the results by myself.) I couldn’t stop crying. When I called Jim to tell him what I was looking at, I had a frog in my throat and could barely speak. Jim says, “Is this good crying?!”
Of course it was good crying!!! I could not believe that I was actually looking at the future site of my dream home. Finally… it seemed real. (she writes, still choking back tears)
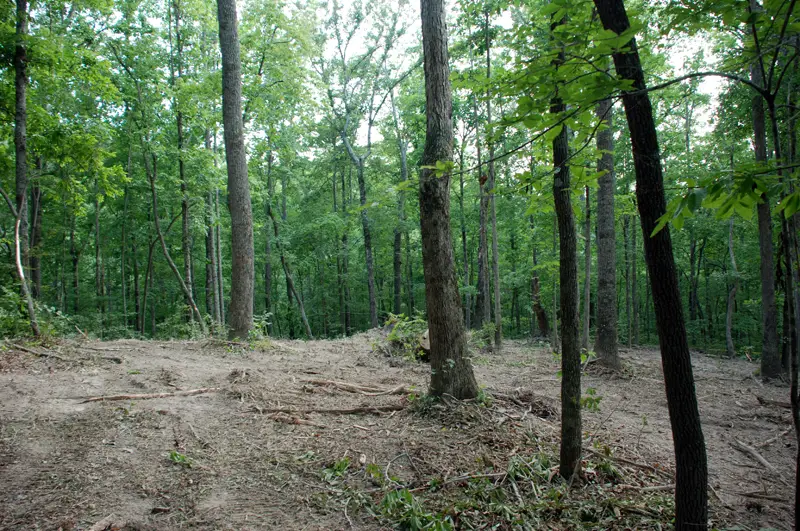
Before now, it was just a thick patch of trees (…that happened to be located on a really cool road in a really cool part of town). But now I could see how beautiful a house would look tucked neatly into these majestic woods, with creeks streaming in every direction, sunlight poking through the thick forest of trees that surrounds the home in every direction, and nothing but silence. It was pure heaven on earth.
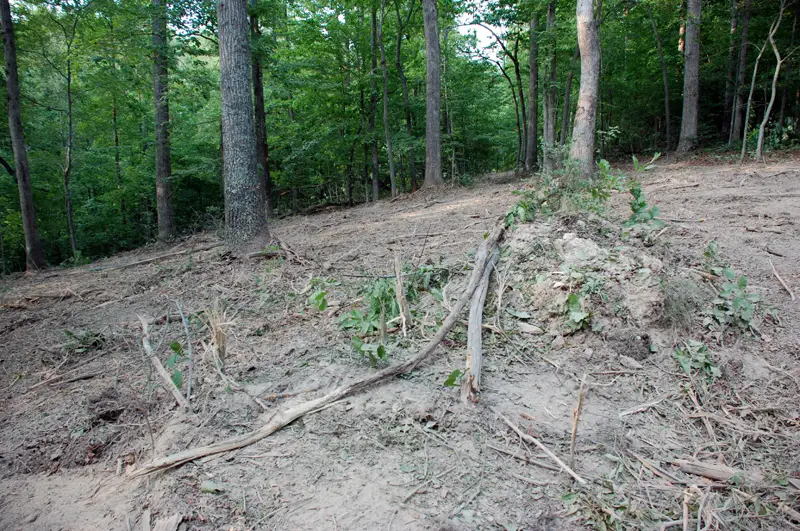
 I say that… but what I was actually looking at was a vast wasteland of nothing but white sawdusty, sandy, and chalky chipped up remains of trees. No joke. I thought it would look more like mulch when it was all said & done. But no… it’s more like white ashy soot!
I’m sure it didn’t help that we haven’t had rain in months, but the guy in charge told me “No, that’s pretty much what you can expect in those parts of Williamson County.” I guess it’s some combination of dried tree bark & sticks and the actual types of trees & vegetation that existed in there (plus the fair amount of ROCK that they encountered during the process) that make the leftovers resemble soot (…as in from a fire!).
I left there covered in a thin layer of white film from head to toe… and this was just from walking up the steep hillside (I mean “our new driveway”) and scoping out all corners of the homesite while taking pictures.
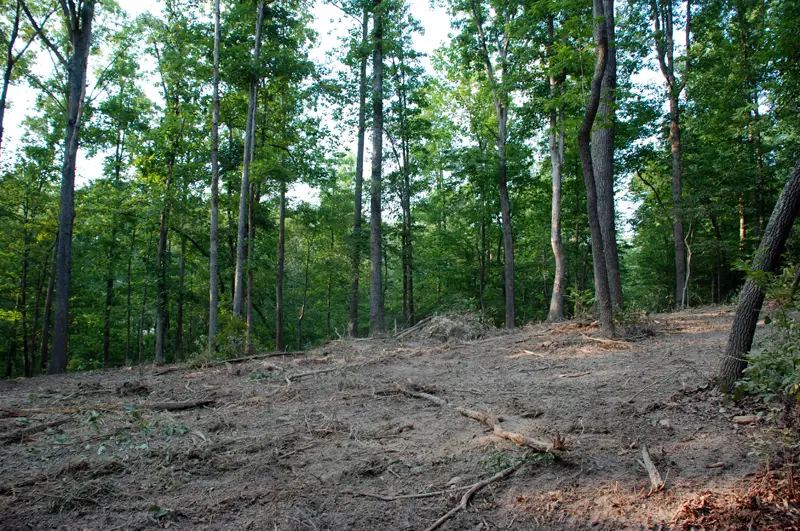
What Our Property Looks Like Now
To be honest, pictures don’t do it justice. I sent these to Jim while he was on the road, and we discussed them over the phone. There were repeated, “Can’t you see it?”… “No, that’s the other side!”… “Over there, to the right, that’s the tree we marked.”
The pictures don’t show perspective, or depth. Or how expansive this home site is!
In fact, most will not find any value in the following photos, but I’m storing them here for easy access and to document this project from start to finish. I trust when it’s all said and done, and we’re sitting on the front porch of our new log home, we will cherish these photos showing what things used to look like.